WooCommerceInventory Management & WMS

Low-Entry WMS
Inventory management & more
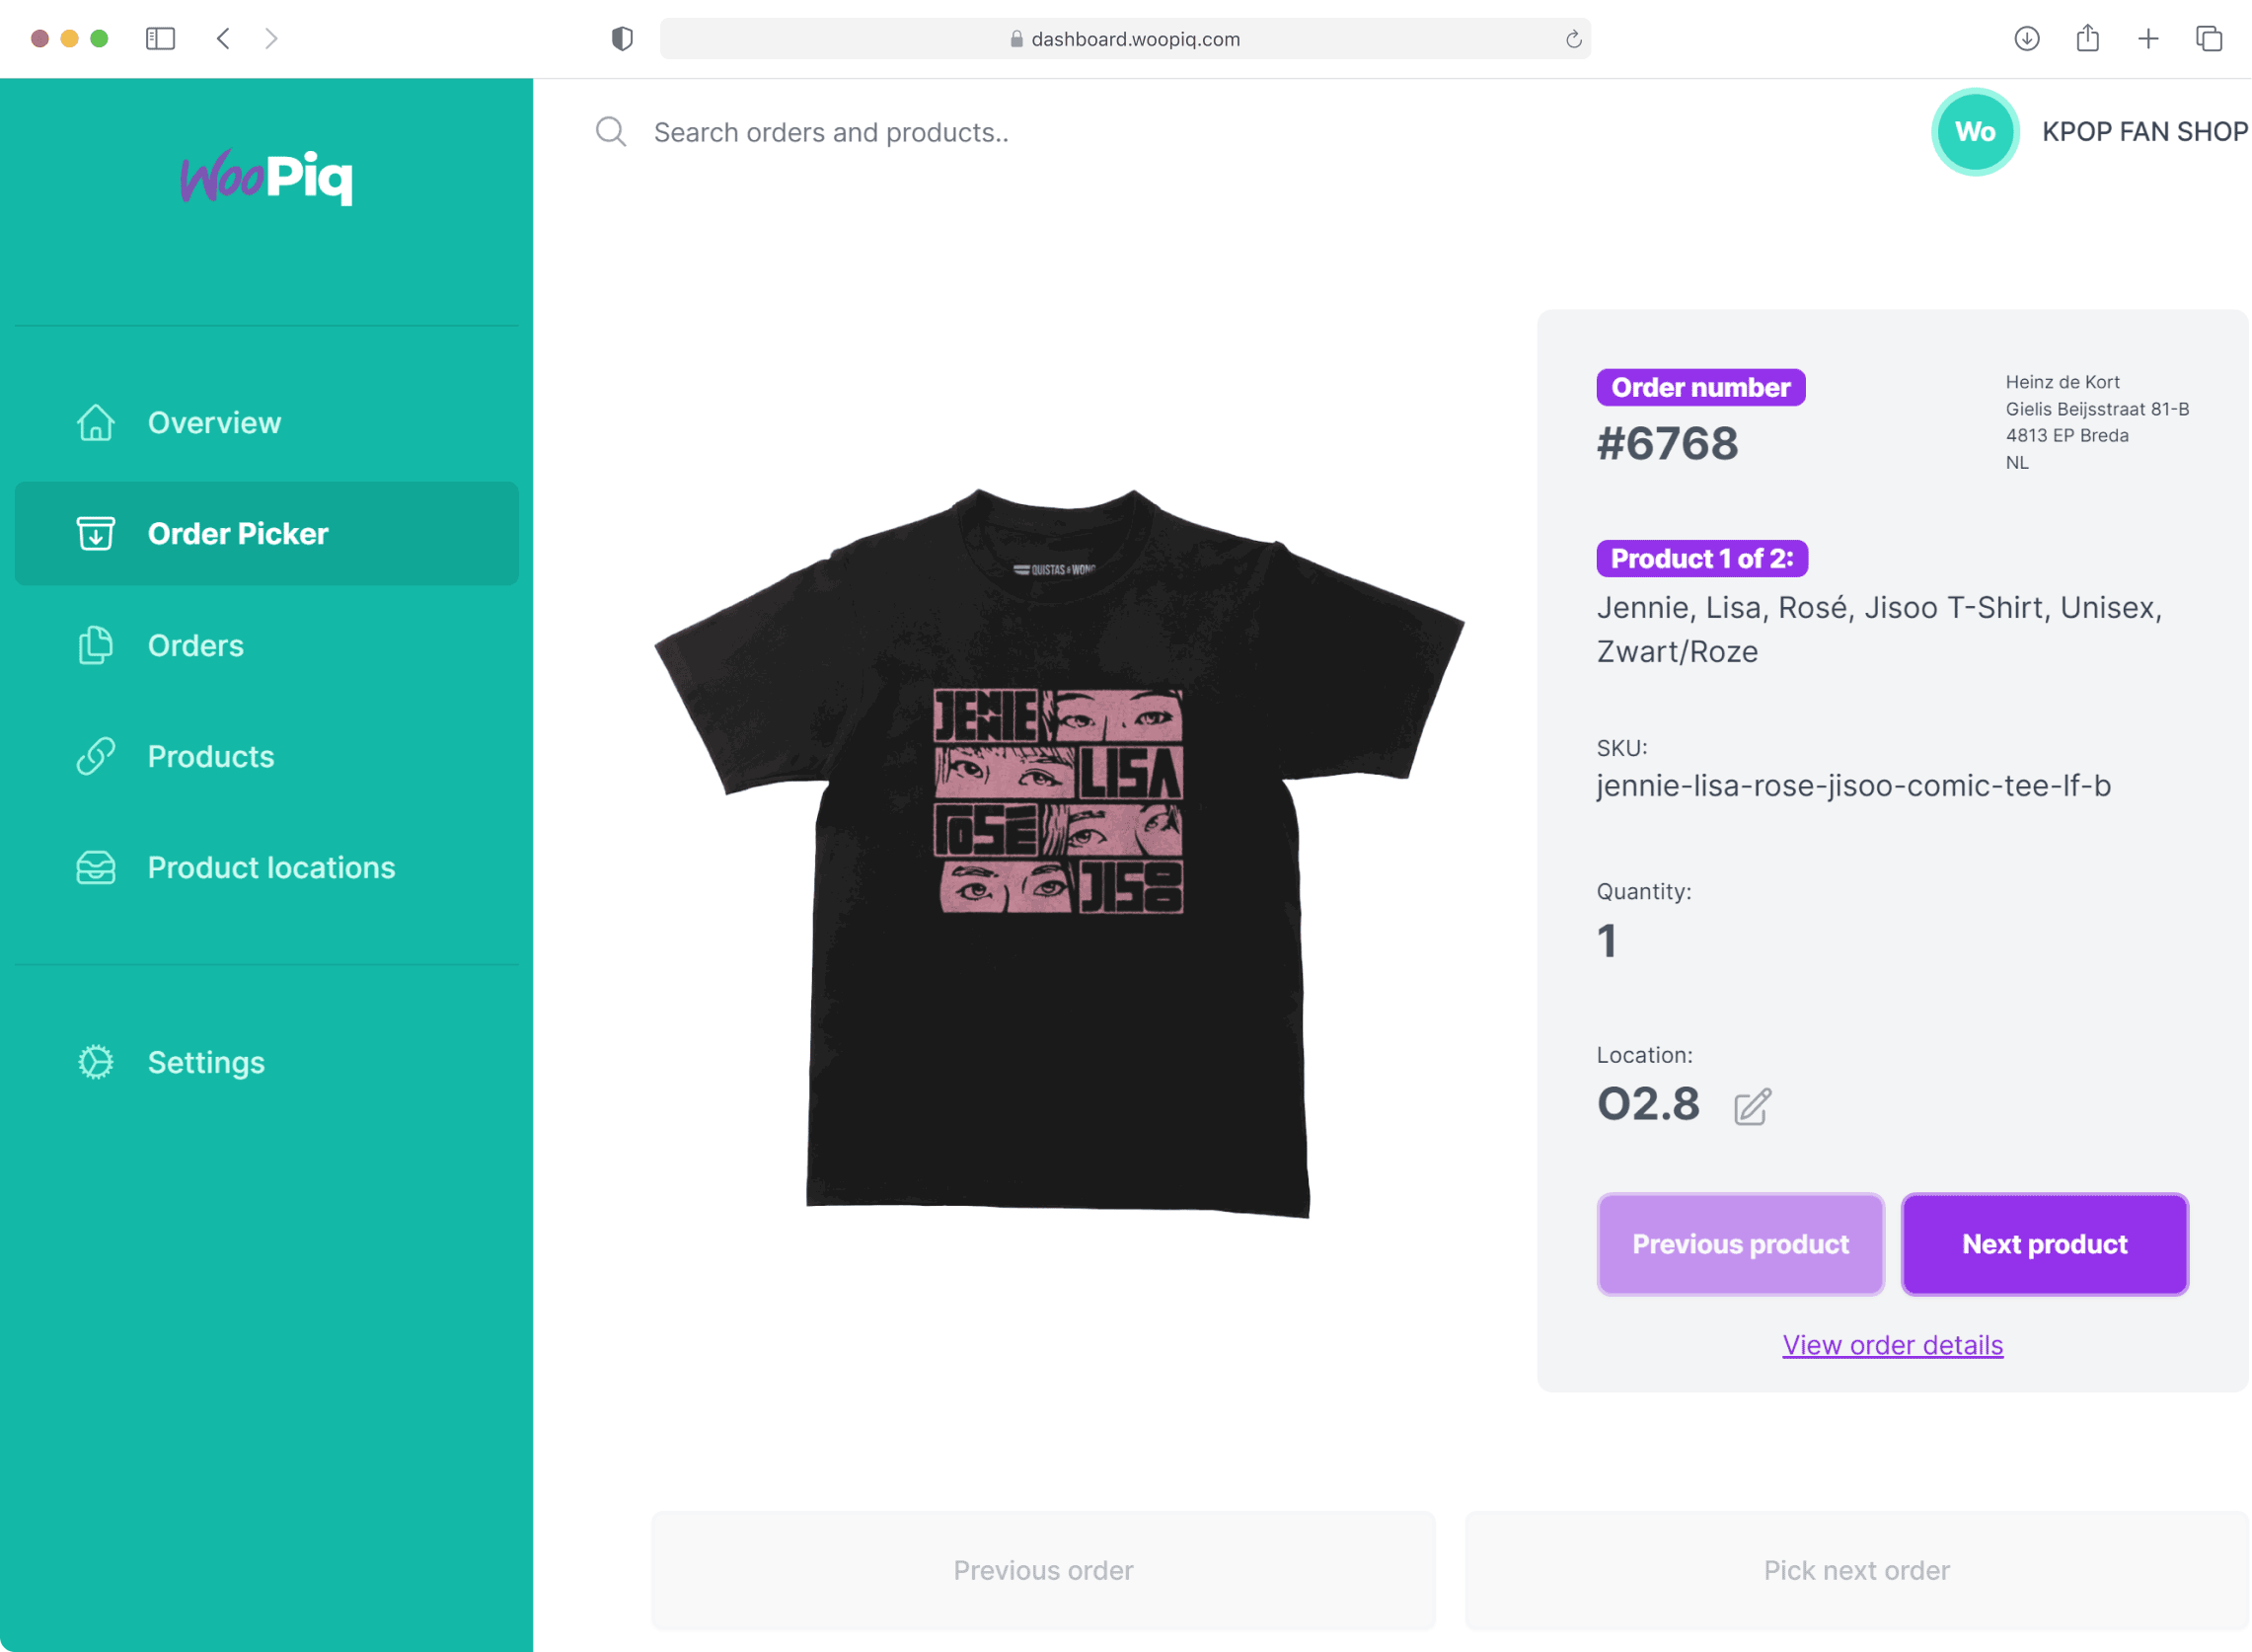
Pick your orders with our distraction free Order Picker - showing you the products, quantities and product locations. Generate shipping labels from within our dashboard.
Features
WMS & order processing features
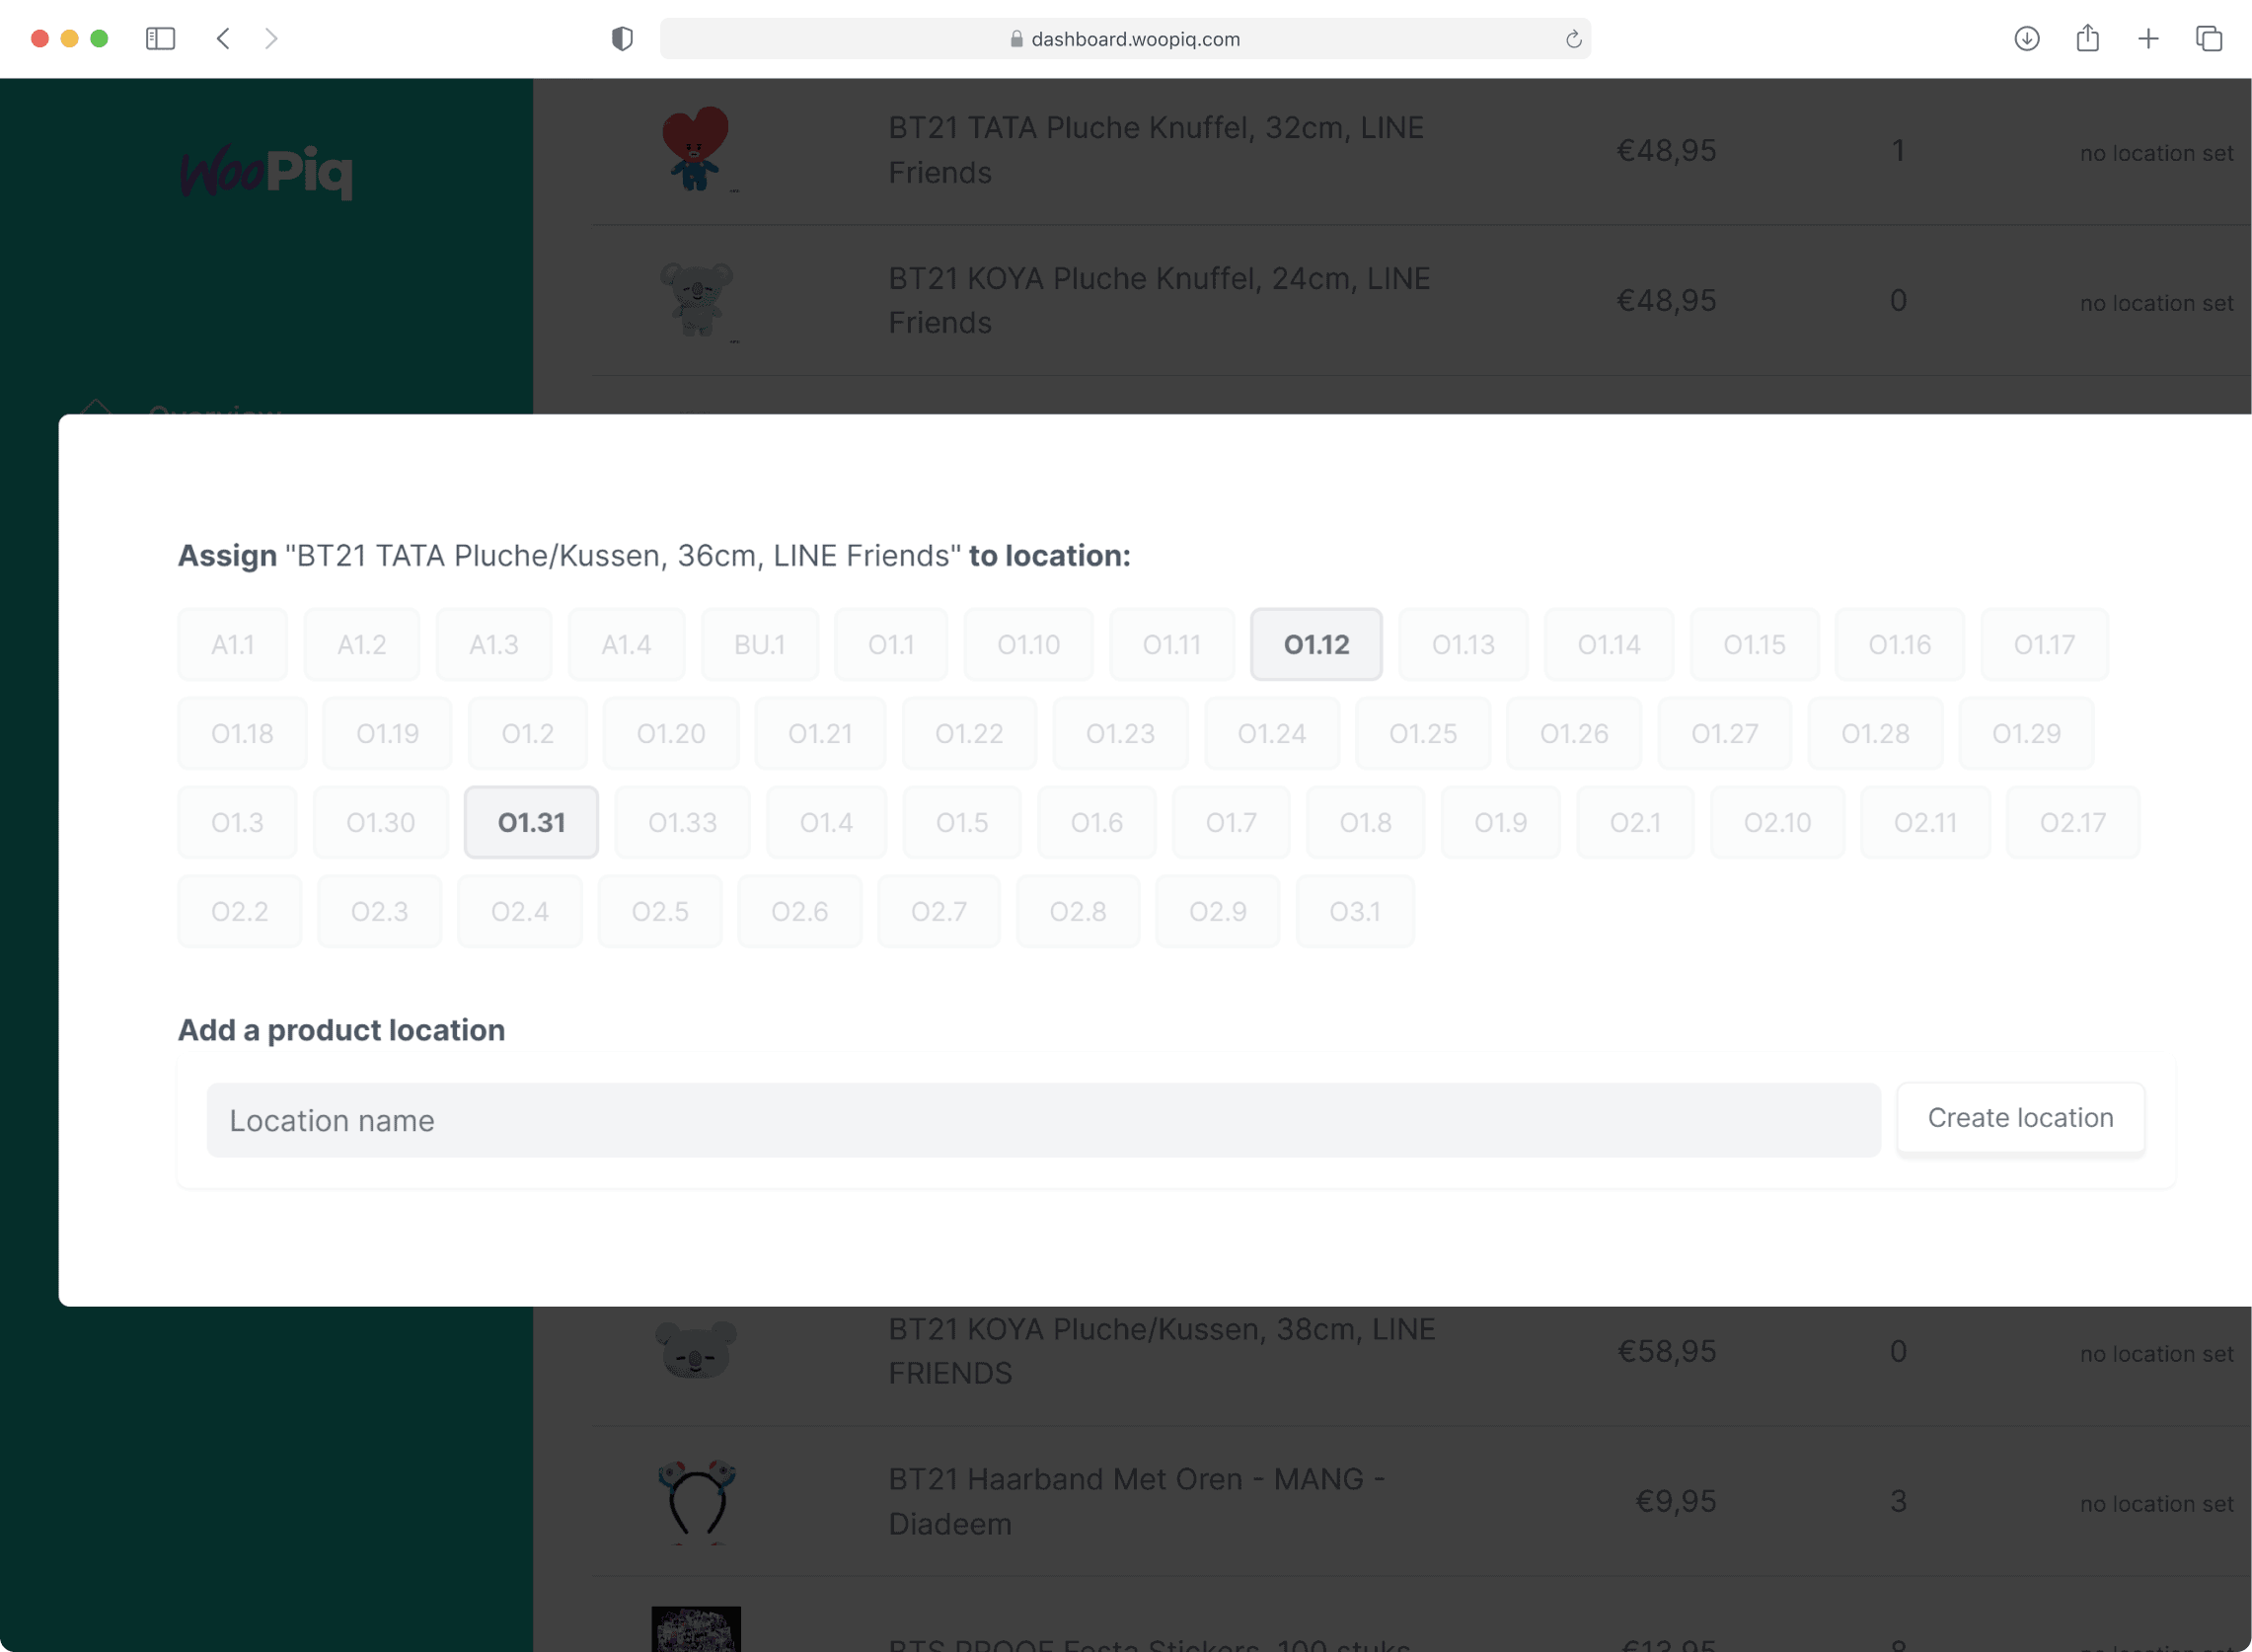
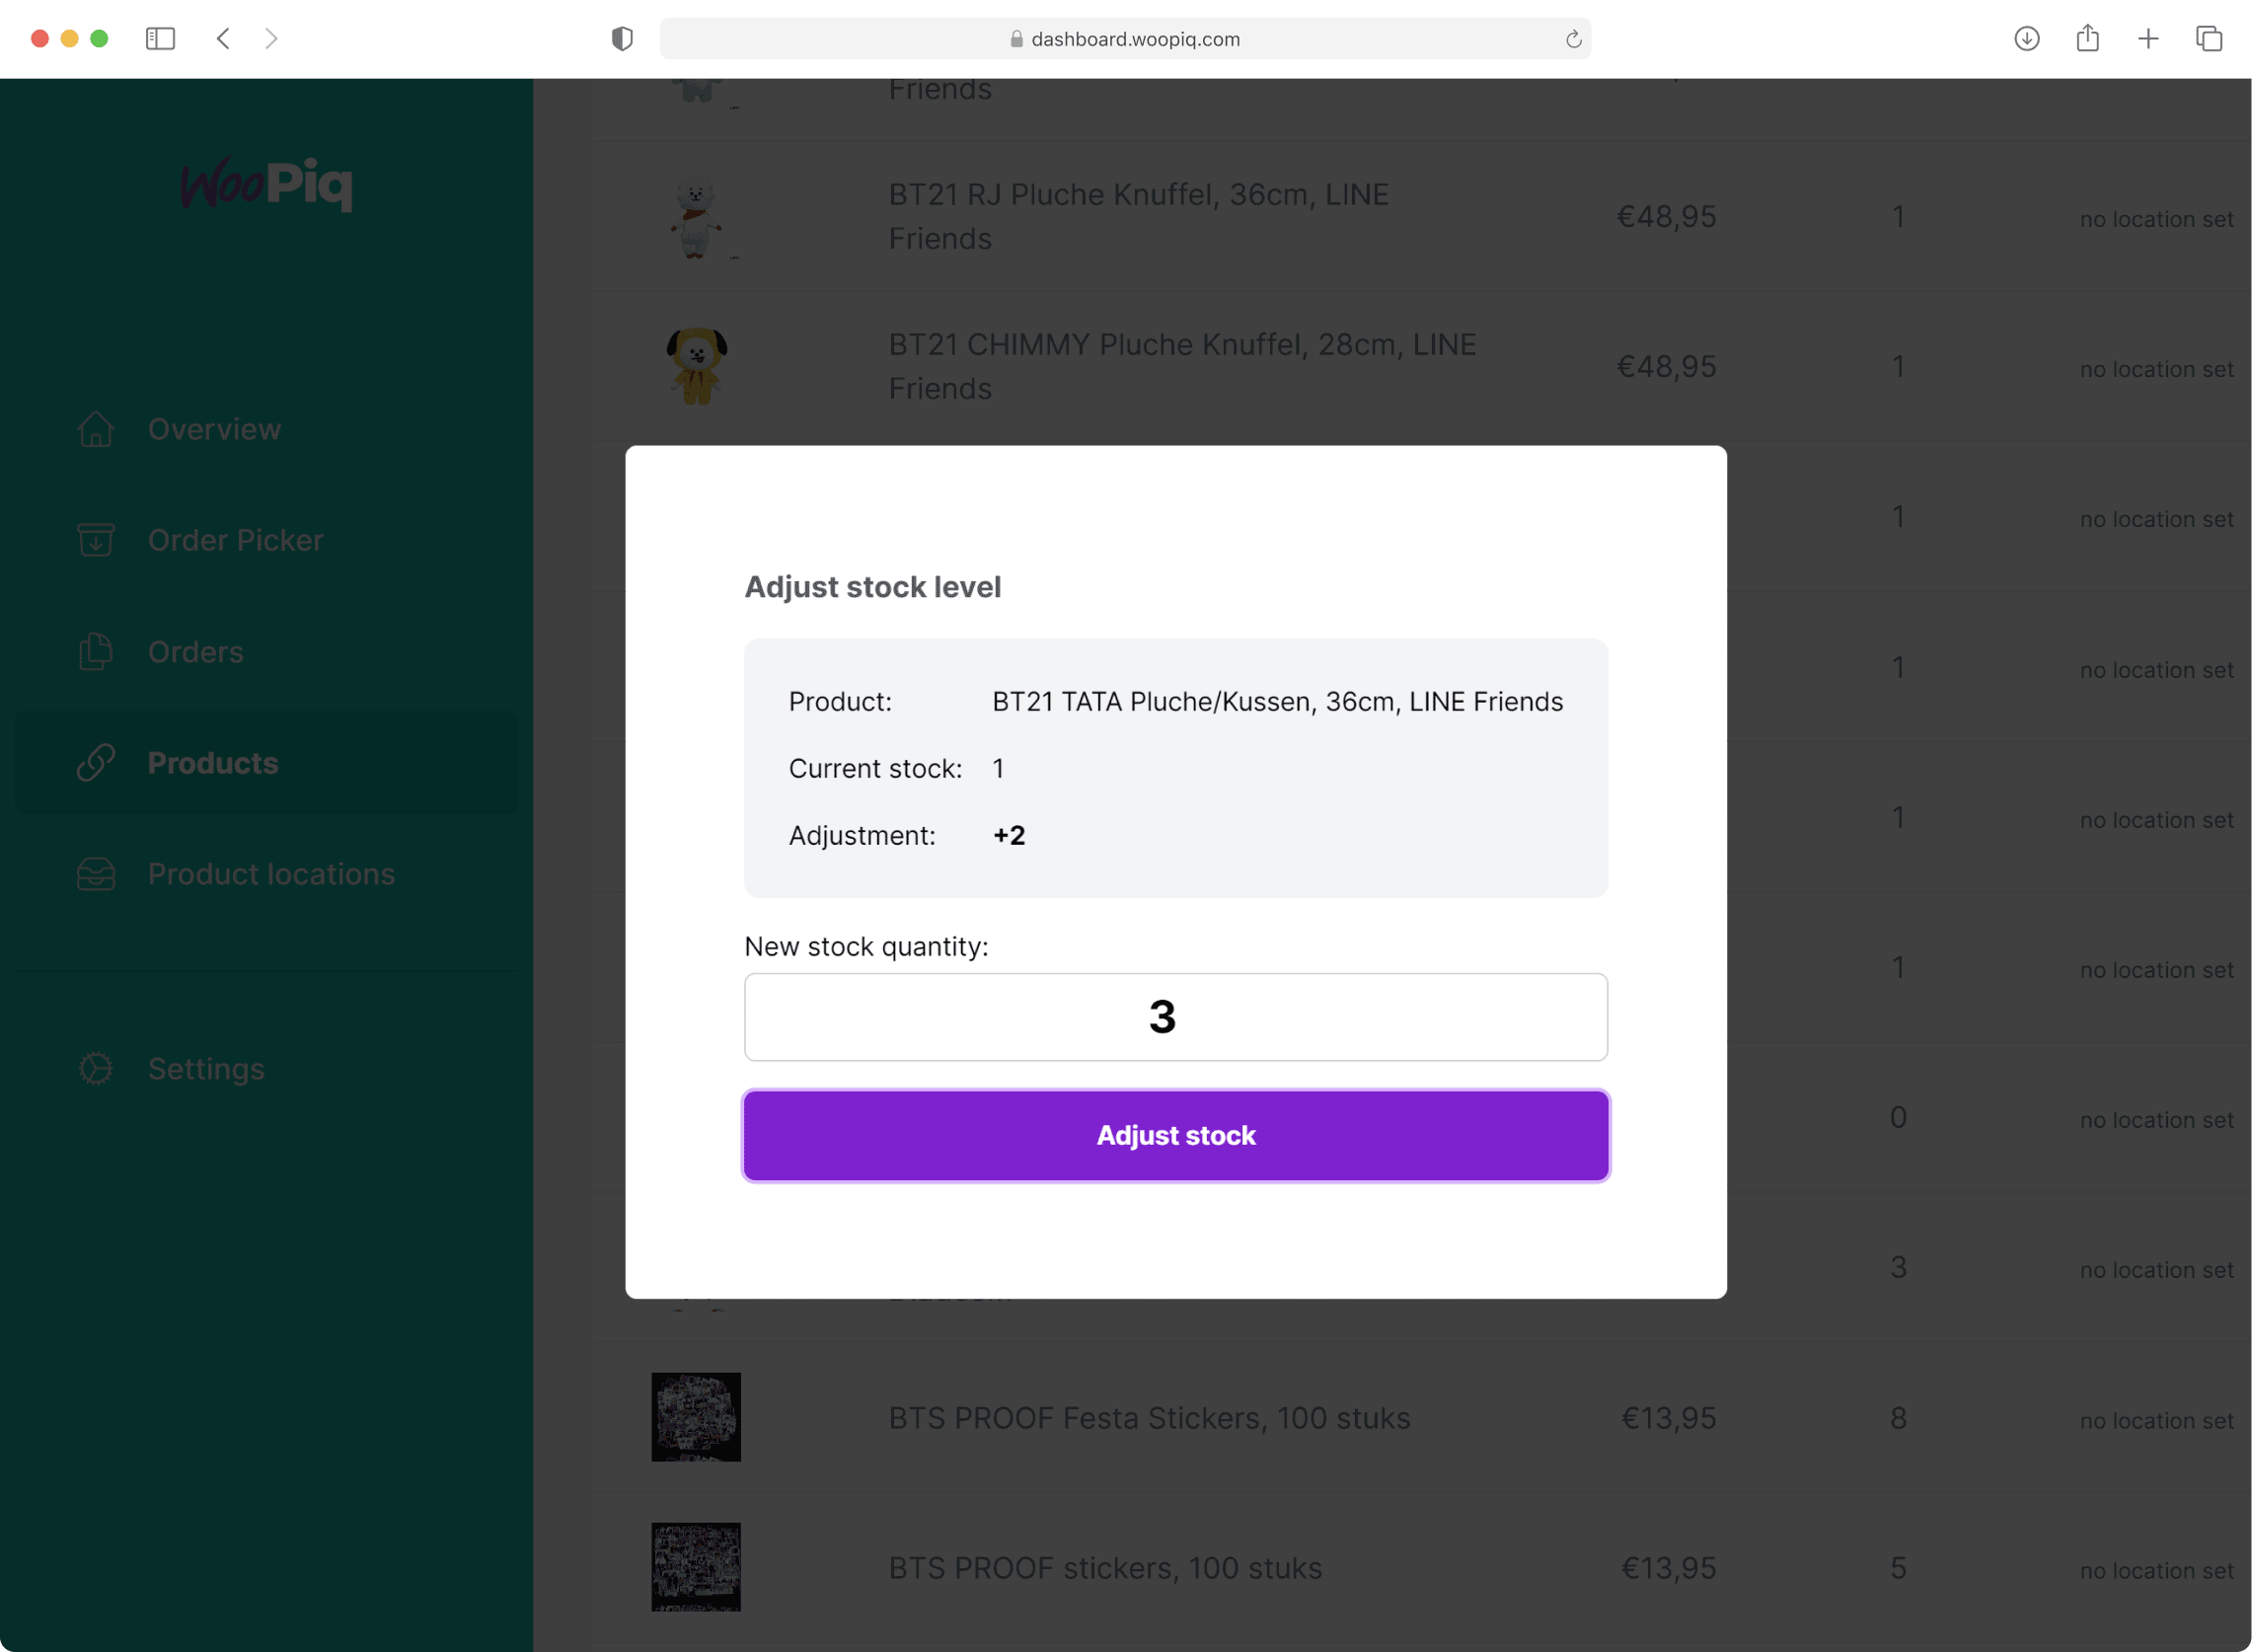
Prevent mistakes during order processing with our handy & distraction free order picker. Easily assign product locations to products, manage your stock and start picking your orders more efficiently without errors.
Inventory management
Product locations
Order Picker
Pick lists
Shipping labels
Multiple webshops
Warehouse locationscoming soon
Returns management (RMA)coming soon
Android & iOS appcoming soon
Integrations
Integrate with your favourite tools

WooCommerce

WooCommerce Product Bundles

MyParcel

SendCloud

DHL Parcel

Polylang for WooCommerce

Webhooks(coming soon)
Mobile app
Android & iOS app
Pricing
Flexible pricing plans
Suited for every stage of your online store. In need of higher limits or specific requirements?Contact our sales team for a custom plan.
Starter
For starting webshops receiving orders now and then on an irregular basis.
What's included
- For small webshops with up to 100 products
- Create up to 50 product locations
- Process up to 30 orders per month
- Order Picker
- Stock Manager
- Pick lists
Growth
For growing webshops receiving more orders per month.
(billed anually)
(billed monthly)
What's included
- Everything in Starter tier, plus:
- Process up to 150 orders per month
- For growing webshops with up to 650 products
- Create up to 650 product locations
- Remove "Powered by WooPiq" branding on pick lists
Small Business
For small businesses with a large collection of products and receiving a high volume of orders.
(billed anually)
(billed monthly)
What's included
- Everything in Growth tier, plus:
- Connect up to 2 webshops
- Process up to 1.000 orders per webshop per month
- For small businesses with up to 4.000 products per webshop
- Create up to 4.000 product locations
- Priority support
Medium Business
For bigger businesses running multiple webshops with a high volume of orders and products.
(billed anually)
(billed monthly)
What's included
- Everything in Small Business tier, plus:
- Connect up to 5 webshops
- Process up to 8.000 orders per webshop per month
- For medium sized businesses with up to 20.000 products per webshop
- Create up to 60.000 product locations
Blog
Helpful resources & news
The latest announcements from the WooPiq team and helpful resources to get you started with warehouse & inventory management in WooPiq.
A strong technical infrastructure is key for the usability, growth and scalability of WooPiq’s warehouse management system. As part of further improvements to enhance our users’ experience, we have strongly improved our infrastructure foundations to support the steady growth of our customer base in the past few months. As a result, tasks such as synchronizing orders and products data, installing shops, fetching orders and products now have greatly improved in processing speeds; often times between 2 – 5x quicker!
Global product locations are now available in WooPiq WMS. From now on, when creating or updating a product location, a new option is available to indicate whether the product location should be globally available (across all your webshops), or just for the current webshop. This option comes in handy for shop owners who share certain product locations across multiple webshops!


